

In order to avoid problems like water leaks, mold growth, or structural damage, a homeowner doesn’t have any other choice but to handle problems quickly before they get out of control, and one of the ways to do this is by installing a tarp. Even though a tarp only offers temporary solutions, it is still considered an effective way to protect your home until professional, permanent repairs can be completed.
To help you out, this blog post will address when the right time to use a tarp on your roof is, along with key safety tips to follow
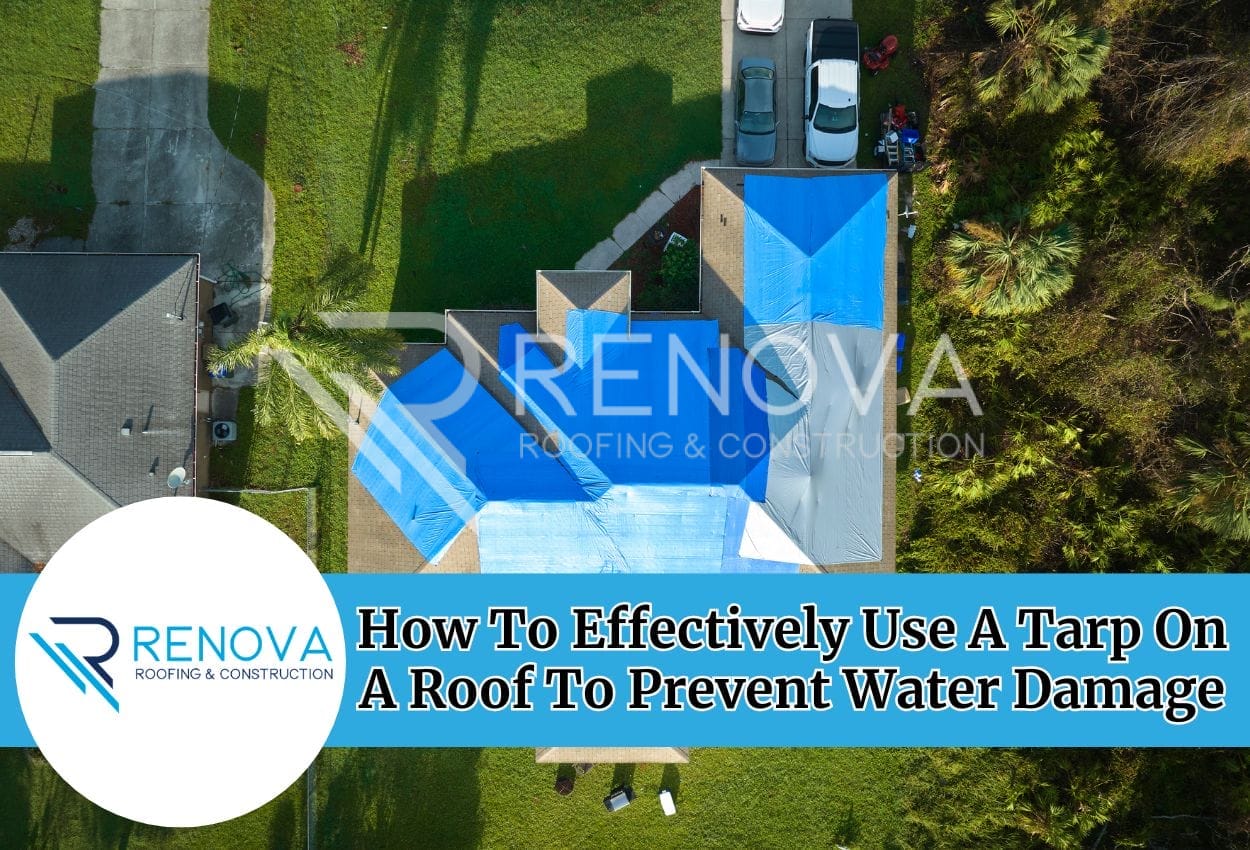
When Is It Okay To Use A Tarp On A Roof?
Let’s go over the situations when putting a tarp on a roof is most effective:
1. After Severe Weather
Storms with strong winds, hail, or falling debris can leave holes or cracks in your roof. A tarp acts as a barrier to block water and prevent further damage.
2. Unexpected Leaks
Water stains or leaks during rainfall are clear signs that there are issues with your roof. By installing a tarp over the affected area, you’re taking control of the situation and managing damage until permanent repairs can be made.
3. During Repairs
While waiting for contractors, a tarp protects your home from the weather, keeping rain, snow, or wind at bay.
4. Post-Fire Damage
Roofs that were damaged by fire easily allow leaks to occur. To prevent any further damage to the interior, roof tarps maintain structural integrity and shield your home.
5. Animal Damage
Wildlife like squirrels or raccoons can easily access, and further damage your roof when there are holes or gaps in roofing material. A tarp temporarily covers the problematic areas while you address the intrusion and schedule repairs.
6. Insurance Compliance
Many insurance policies require homeowners to reduce the chance of further damage after an incident in order for a claim to be approved. By tarping your roof you demonstrate that you’re taking proactive steps, ensuring your claim remains valid.
7. Incoming Weather
If severe weather is in the forecast after your roof has already experienced damage, using a tarp prevents additional damage from occurring.
8. Repair Delays
When contractor availability is limited, especially after widespread storm damage, roof tarps protect your home during the wait.
How To Put A Tarp On A Roof

Now, let’s learn how to put a tarp on a roof with a step-by-step overview to ensure protection:
Step 1: Get All The Supplies
Here is a checklist of all the materials needed:
| MATERIAL | DESCRIPTION |
| Tarp | Choose a heavy-duty tarp larger than the damaged area |
| Measuring Tape | Use it to measure the damaged section |
| Wooden Boards | Thin boards, such as 2x4s, to secure the tarp |
| Nails or Screws | For fastening the boards down |
| Safety Gear | Wear gloves and goggles for protection |
Step 2: Inspect the Damage
Once you have your supplies, carefully inspect your roof. Look for any missing shingles, leaks, or visible damage. Measure the affected area to ensure the best way to put a tarp on your roof will be to cover it completely, extending at least a few feet beyond the damage.
Step 3: Clear Debris
Next, remove any debris from the damaged area, such as broken shingles, leaves, or nails. This step is important because it helps prevent water from building up on the roof’s surface and ensures the tarp is securely placed on a clean surface.
Step 4: Position the Tarp
Now, spread out the tarp and position it over the damage. Make sure it covers the entire affected area and extends over the roof’s peak. This overlap is crucial to direct water off the roof without allowing it to pool under the roof tarp.
Step 5: Secure the Tarp
Once the tarp is in place, wrap the edges around the wooden boards. This will help anchor the tarp and distribute pressure evenly, reducing the risk of tears.
Step 6: Fasten the Tarp
Using nails or screws, secure the wooden boards to the roof. Space the fasteners about a foot apart, making sure they’re driven into solid parts of the roofing structure. Be careful not to damage the shingles as you attach the boards.
Step 7: Monitor Regularly
Finally, after securing the tarp, check it regularly, especially after heavy rain or wind. If the tarp shifts or shows signs of wear, reinforce it with extra weights, like sandbags or bricks, along the edges.
Common Mistakes to Avoid
Here’s what to watch out for when using roof tarps:
1. Not Enough Overhang
Make sure your tarp extends a few feet beyond the damaged area. This helps prevent water from seeping into your home from around the edges.
2. Loose Edges
Always secure the edges tightly to avoid gaps. Loose sections of the tarp can flap in the wind, tear, and let water in.
3. Wrong Tarp Choice
Choose a durable tarp for the job. A lightweight tarp may tear, leaving your roof exposed to the elements.
4. Weather Conditions
Check the weather forecast before putting up the tarp. Tarps work best when there’s no rain or strong wind.
5. Poor Drainage
Make sure your tarp slopes slightly to allow water to drain off. Without proper drainage, water could pool and cause damage.
6. Not Enough Tie-Downs
Use plenty of tie-downs around the tarp to keep it secure, even in windy conditions.
How Long Can A Tarp Stay On A Roof?
A tarp can last on a roof for around 90 days to two months, depending on the material and weather. However, you shouldn’t leave it for more than three months.
What Type Of Tarp Is Best For A Roof?
There are a couple of different options among roof tarps to choose from when it comes to protecting your home:
1. Polyethylene Tarps
Polyethylene tarps are lightweight, affordable, and waterproof, making them ideal for use as an emergency roof tarp. Their versatility in size and thickness makes them a great choice for quick, temporary fixes.
2. Canvas Tarps
Moving on, canvas tarps are durable and breathable, and designed for long-term use. Though they need waterproofing, they are great for when you require something more substantial in order to withstand more wear over time.
3. Vinyl Tarps
Vinyl tarps are the toughest option, built to endure extreme weather conditions. Perfect for lasting protection, they are the best way to put a tarp on your roof when you need something highly durable during harsh conditions.
What Permanent Solutions Follow Using A Roof Tarp?
The best thing about using a roof tarp is that you know it’s a temporary fix. Its only job is to provide protection until permanent repairs can be made, like the following:
1. Roof Replacement
If the damage is extensive or the roof is old, a roof replacement may be the best choice. This option offers enhanced protection, energy efficiency, and can increase your property’s value.
2. Roof Repair
If the damage is more localized, a roof repair can be enough to handle the damage. It’s a cost-effective way to address issues like leaks or missing shingles and can extend the life of your roof. A professional assessment will help determine whether repairs are enough or if a replacement is necessary.
3. Roof Coating
For roofs in decent condition, a roof coating is an option worth considering. It improves waterproofing and durability, especially for flat roofs, and is less invasive than a full replacement.
Also Read: The Difference Between Roof Repair & Roof Replacement
How Much Does It Cost To Put A Tarp On A Roof?
The price to cover a roof with a tarp typically falls between $175 and $700, with the average cost being around $450. For routine installations, prices range from $0.70 to $2.00 per square foot. However, if emergency services are required, the cost can increase to between $1.00 and $2.80 per square foot.
Keep Your Home Safe From Leaks With Rеnova Roofing & Construction
Covering roof damage with a tarp is a quick way to stop water from entering your home, but safety comes first. Remember, a tarp is just a temporary fix, and in order to handle the damage permanently, you need to act fast and contact professionals.
Renova Roofing & Construction offers professional roof tarping services to prevent water damage to your property. Our skilled professionals will evaluate the problem promptly and put up a sturdy tarp to protect your home. We guarantee dependable, effective solutions to keep your home safe and dry thanks to our experience. Call us at (601) 647-3433 today!